
Even plain white, mundane purpose paper is intriguing. I put myself through college working in a grocery store. The cash registers used large rolls of narrow white paper to print receipts. At the ends of these rolls there were always several feet of white after the splashes of hot pink that alerted the cashier that the roll of paper needed to be changed. I saved every one of these and used them as "ribbon" on packages. It became my trademark. Now I buy rolls of this paper at office supply stores. Imagine! They can be stamped, folded, punched, and so much more.

As a youngster I'd use whatever I had on hand to decorate brown paper sacks cut open and ironed to reduce the wrinkles. Since my grade school required that all books be covered for their protection from little hands, I used grocery bags turned inside out (so the store logo wouldn't show) and delighted in my own designs. I was especially fond of using crayons to rub the images of heavily veined leaves onto the paper, or the interesting textures of a crocheted table cloth. I was often scolded for tearing the paper covers off of the crayons to do so. I thought I had invented rubbings until I got to college, took a few art classes, and learned that people have been doing rubbings forever. It was in college I also learned how to create screen prints, to cut wood blocks and rubber blocks and even to incise plastic surfaces, smear ink into the grooves and print the design, a process called intaglio, though my efforts were better described as inked scratches. One of my classmates created the most amazing portraits just by affixing torn papers onto canvas with acrylic medium.
I fell in love with calligraphy, and began designing monograms in fonts I made up so the initials looked like some ornate filigree. I did our wedding invitations and the mass booklet. Anne and Phillip attended a very small, parochial school. I made monogrammed stationery for Anne's first grade teacher for Christmas. Her initials were Z H (her name was Zonna Heck.) I designed a fancy intertwining monogram and lettered each by hand. Unfortunately, her gift and that of Phillip's preschool teacher got switched. Poor Mrs. Lindemann wondered for several days what religious symbol I had chosen to put on her stationery. She finally asked me about it and I was more than a little embarrassed by my mistake, though later we all had a good laugh over it.
About this same time I bought my first rubber stamp. Now this was fun! And during one most memorable excursion to Cedarburg, Wisconsin I learned how to emboss with brass and tin stencils. The shop demonstrated embossing using a light box but suggested if I didn't have one, I could either use a window or use a lamp beneath a glass shelf. I tried the alternatives. Using a window was not easy as my arms would grow tired and the paper could easily slip out of alignment. And that technique only worked as long as it was light outside. I tried using a lamp on the floor and a glass shelf across my knees, but the bulb grew quickly too hot near my legs and I felt this was not something I should be doing with small children in the house. That Christmas I used the gift of money I received from my father-in-law to buy myself a light box. I still use that same light box today, with the same florescent bulb inside of it more than 25 years later. I can't begin to guess how many embossed cards have been made since the first one. I absolutely love the technique.
Stencils of paper or plastic are delightful fun. Bopping the stencil brushes into ink and then over the paper or plastic stencils is both delightful and stress reducing. Birthday cards, Christmas cards, note cards, church bulletins, music program flyers, there was no limit .
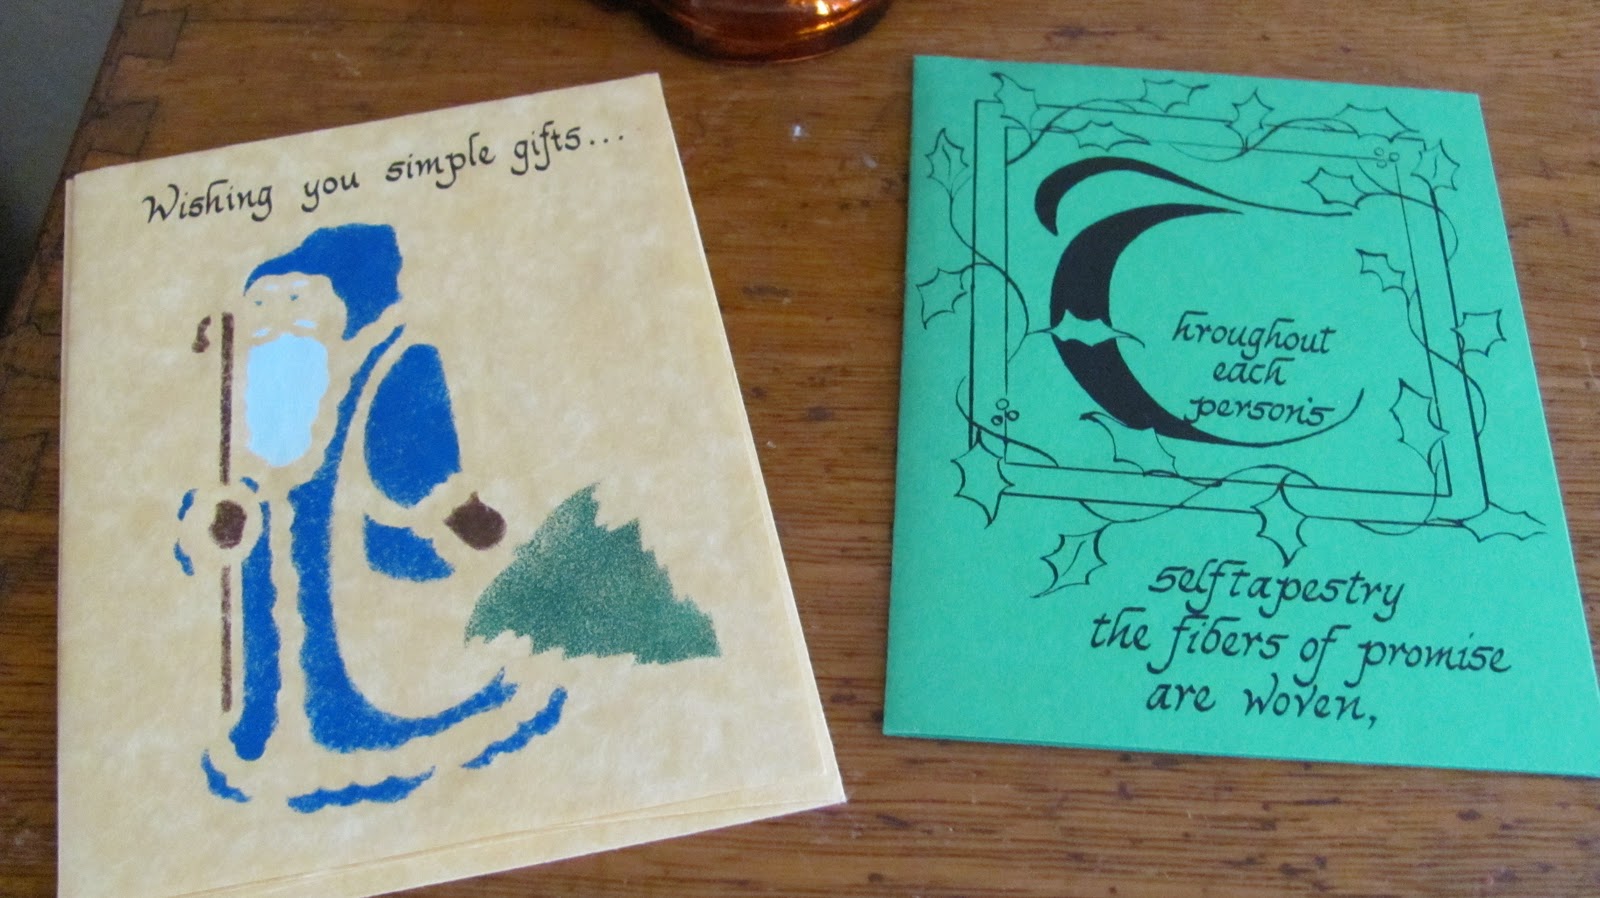
Below are a couple examples of Christmas cards from years back, the left a stenciled Santa with a hand lettered message, and on the right a card lettered and drawn. Most of my other "relics" are filed away in a drawer in my city house. I surely wish I had them here with me now, mostly to serve as a reminder of the creative roads I've been traveling.
Here are some examples of hand-cut paper stencils I was fond of using (love of all things floral runs strongly in my female line!) They still retain a hint of the linseed oil I used to saturate the paper before inking them the first time.

One rubber stamp led to another and one stencil to many, many more. My rubber stamp collection now fills the drawers of an antique oak library catalog I was fortunate to save from the middle school library where I was the library media specialist at the time that the automated catalog made the file drawer system obsolete.


I have no idea how I started using Heat n Bond lite to adhere one paper to another. It is especially useful with fragile tissue papers. I made these cards and envelopes this week.

While attending a quilt show several years ago I discovered a technique called Iris Folding . Unlike building a fabric quilt block from the inside out, a paper block is built from the outside in. Happily, you can use the same patterns for paper pieced quilt blocks and for iris folding blocks. This example is made with a heavier paper, which makes the card a little thick.

Lately I've been experimenting with combining techniques, so my paper cards may also have rubber stamped images, embossing, even cut outs. Did I mention the lovely punches that are becoming so easy to find?? Note the bottom of this valentines card. The hearts themselves were punched from tissue paper ironed to Heat n Bond lite then ironed to note paper.

Now that I'm living out in the country most of the time, I'm not close to paper supply stores. For me it's such a tactile thing, seeing and touching these lovely items for myself before I buy them. But some of the places I like to shop, Paper Source , Archivers, and Hollanders, have lovely shops online. Guess I'll be learning to order sight unseen. It has worked well so far with fabrics!! Hello, UPS man.
Nice post, Mom. You need to write more posts about what you're creating! I love how those cards and envelopes turned out.
ReplyDeleteI love the JOY that comes through in this post, Sharon! You obviously delight in creating things and it shines through in your work. What beautiful cards - fortunate are those who have received them! And how much do I love that library catalog!
ReplyDeleteI'm in awe of all the techniques you've used. I agree with Anne - I'd love to see more posts about your creations! Oh, and I love your calligraphy!
A lovely post. I adore paper and rubber stamping is a crafting passion of mine. What a good idea to use the end of the till receipts in your papercrafting! I am envious of your library drawers - such a great way to store your stamps!
ReplyDelete